The next morning started with a search for my can of flat black paint. I added two supports on either side of the frame to support the top where it would overhang. and gave it a coat.
I decided I wanted to make the top as solid as possible and not have any opening compartments on the sides. I too out the jigsaw and created two holes in the main frame so the side compartment could be used to sore things.
And here it is! The rear framework is painted and fits perfectly into the car. I should also mention i put the rear section of carpet back in.
For the rear section I added a plywood bottom so that the part between the 4x4 posts could be used as a shallow storage compartment
I also added an amp onto the bottom portion that will hang under where the rear seat used to be. This will be used for when I upgrade my stereo... but that is another post. I just added this on now to make it easier on myself later.
And here is what it looks like with both sections in. The 4x4 posts are just simply screwed to the 2x6 I trimmed for the rear section. This holds it plenty good enough as it will get allot of its strength from the plywood top too.
Under the un-carpeted section will be my stereo amp and wiring.
While i was able to access it, I added two accessory batteries that will later be used for the stereo. the wires just hang in the un-carpeted area now, capped off until I used them.
I then cut the plywood for the middle section. I used on 1" strip in the middle that will keep the two loose boards centered. The two loose boards can be lifted off to reveal the compartments.
The most labor intensive part was the sides. lots of cutting and re-cutting with a jigsaw and beveling... using methods that I probably should not share. But in the end it came out great. I painted them black and screwed them in. It honestly looked better than I expected.
The view without the middle sections
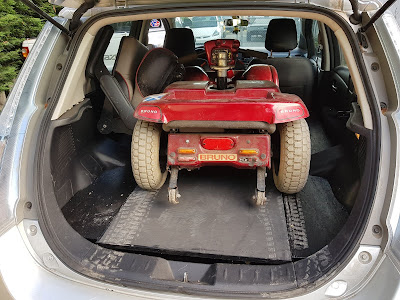
And here it is all together with... a future project loaded in the back.


