Pages

Friday 13 July 2018

Leaf Cargo Deck. Day#2

The next morning started with a search for my can of flat black paint. I added two supports on either side of the frame to support the top where it would overhang. and gave it a coat.

I decided I wanted to make the top as solid as possible and not have any opening compartments on the sides. I too out the jigsaw and created two holes in the main frame so the side compartment could be used to sore things.

And here it is! The rear framework is painted and fits perfectly into the car. I should also mention i put the rear section of carpet back in.

For the rear section I added a plywood bottom so that the part between the 4x4 posts could be used as a shallow storage compartment


I also added an amp onto the bottom portion that will hang under where the rear seat used to be. This will be used for when I upgrade my stereo... but that is another post. I just added this on now to make it easier on myself later.

And here is what it looks like with both sections in. The 4x4 posts are just simply screwed to the 2x6 I trimmed for the rear section. This holds it plenty good enough as it will get allot of its strength from the plywood top too.

Under the un-carpeted section will be my stereo amp and wiring.


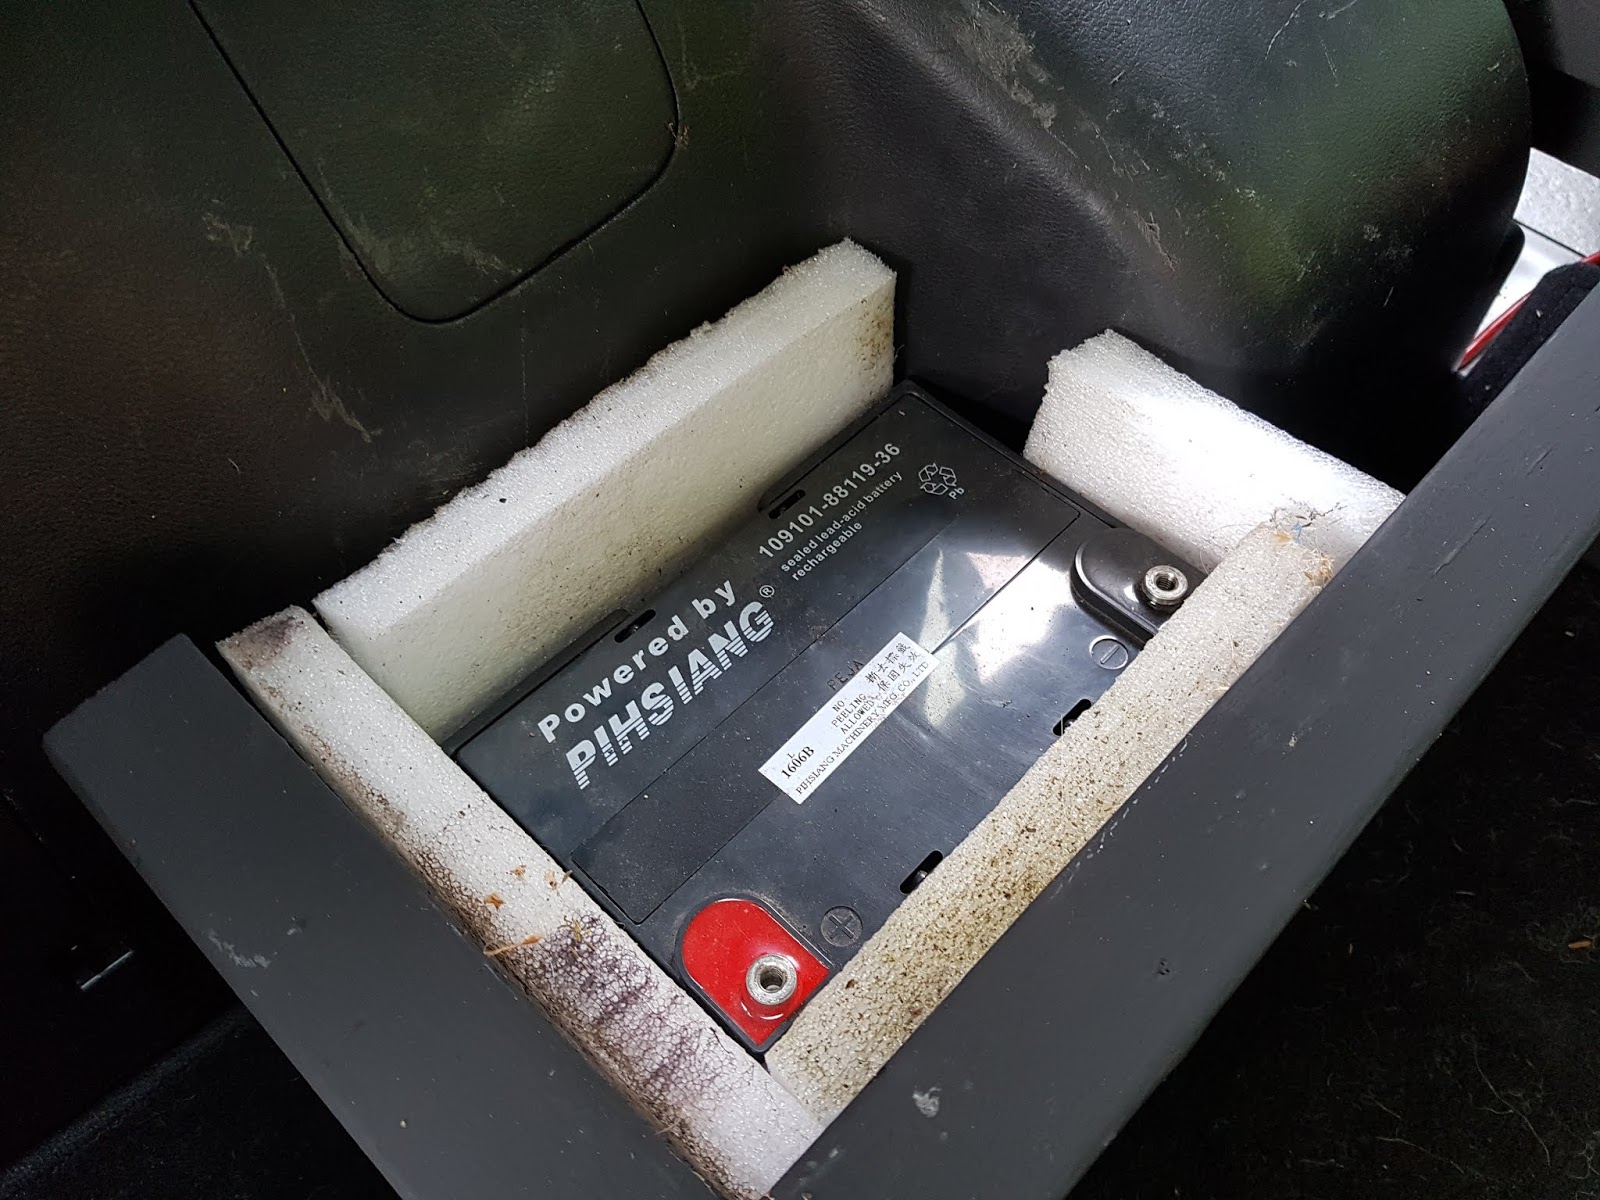
While i was able to access it, I added two accessory batteries that will later be used for the stereo. the wires just hang in the un-carpeted area now, capped off until I used them.


I then cut the plywood for the middle section. I used on 1" strip in the middle that will keep the two loose boards centered. The two loose boards can be lifted off to reveal the compartments.


The most labor intensive part was the sides. lots of cutting and re-cutting with a jigsaw and beveling... using methods that I probably should not share. But in the end it came out great. I painted them black and screwed them in. It honestly looked better than I expected.


The view without the middle sections

And here it is all together with... a future project loaded in the back.


Wednesday 11 July 2018

Leaf cargo deck. Day #1

A few months ago I purchase a Nissan Leaf. I do allot of driving and found that the payment on a Leaf was not much more than gas in my V6 car. Its fast, like my V6 car, cost nearly nothing to drive, and its better for the environment. I use mine for a delivery vehicle and found that it was really not very well suited as a delivery vehicle. The rear seats fold down but they are still a foot tall over the rear compartment. What i needed was that damn seat gone. And one day I finally did just that.
The seats

View from the rear hatch (back carpet taken out as well)


With the seats removed there was plenty of room for cargo but it still left me with an uneven floor that would be awkward to load gear in and out of. I then began design for a cargo deck that i could build to give me a nice flat floor to slide cargo in and out of. The first part of my design was to figure out what I wanted to fit under the deck since there would obviously be unused spaces underneath.


It turns out the road cases I use for my gear are the perfect height to fit within a 2x10 wood frame. Also it worked out well that using a 2x10 frame for the back would bring the main cargo deck height up to the same level as the rear sill. this also brought the deck up to the level of the rear shock towers so they would be less of an obstacle for loading cargo. The design for my cargo deck would now need to incorporate a hatch to access the compartment underneath.
 I trimmed a 2x6 to bolt up in front of my main 2x10 frame so i could have a good support across the full width of the car


With the bulk of the rear framework done it was time to move onto the front. where the front lip of the back seat attached was a raised portion that was conveniently dead strait and level. if the front portion was well attached to the rear it could rest there and cantilever the rest of the way to the back of the seats. to make sure I would have good structure i used two 4x4 beams lengthwise attached to a 2x4 across the width of them that would rest on the raised portion. For the very front part that would be against the back of the seat I cut a 2x4 that would run the full width to support the top. I also made the front portion match the width of the rear to keep everything uniform.
 Front portion of frame

And here it is. loosely attached to the rear portion and it worked out perfectly level across the top. its almost like the leaf was designed for this kind of modification. No trimming or shimming needed. I could move on to paint... Tomorrow